Quality Policy
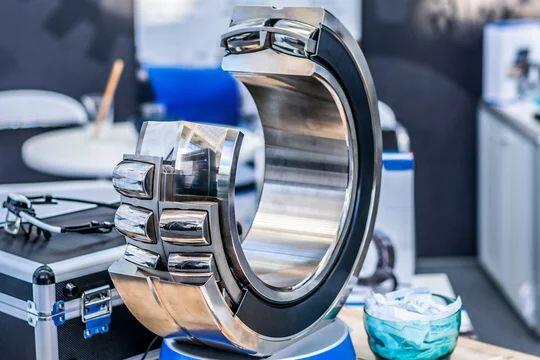
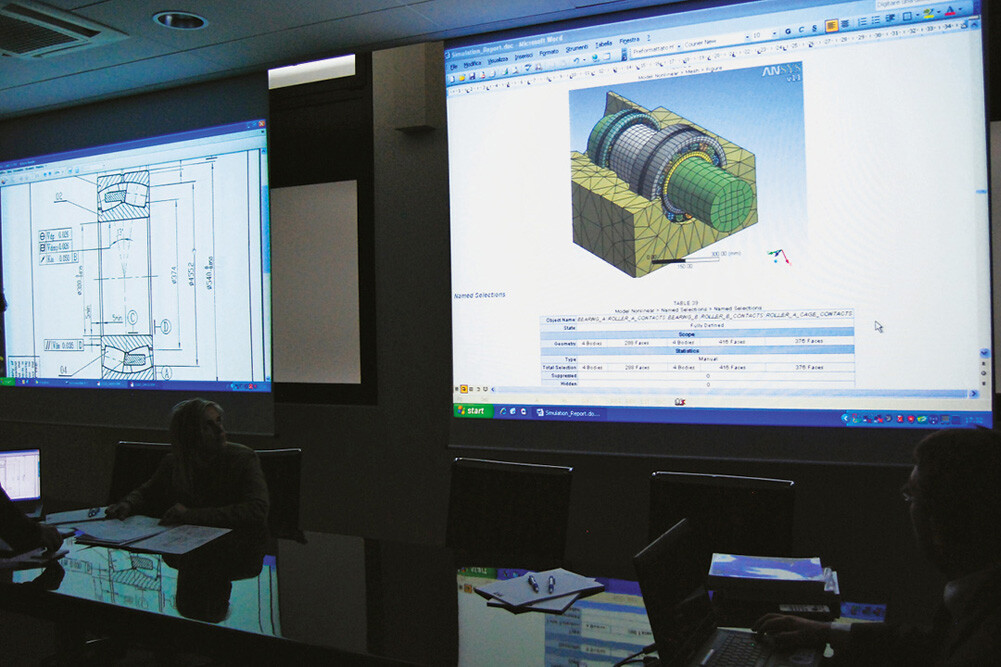
Providing customers with bearings of the highest quality is of the utmost importance to Aubearing. This means using top quality materials along with state of the art technology and controls at every step of production, the final product can proudly bear the Aubearing seal. We produce standard and tailor-made custom solutions, designed for the toughest production challenges. In these rapidly changing times, we combine creativity, innovation and technical expertise to ensure that customers around the world experience consistent, industry-leading quality in every bearing we manufacture. Our manufacturing plants are ISO 9001, ISO14001 certified, ensuring that products and materials meet stringent standards for low emissions of volatile organic compounds in indoor air.
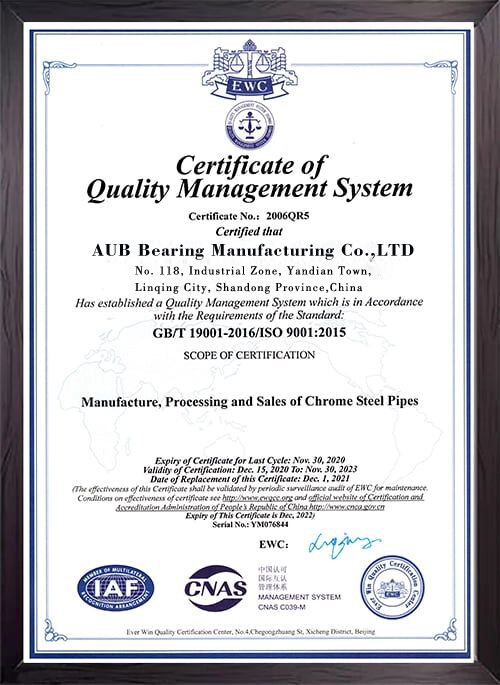
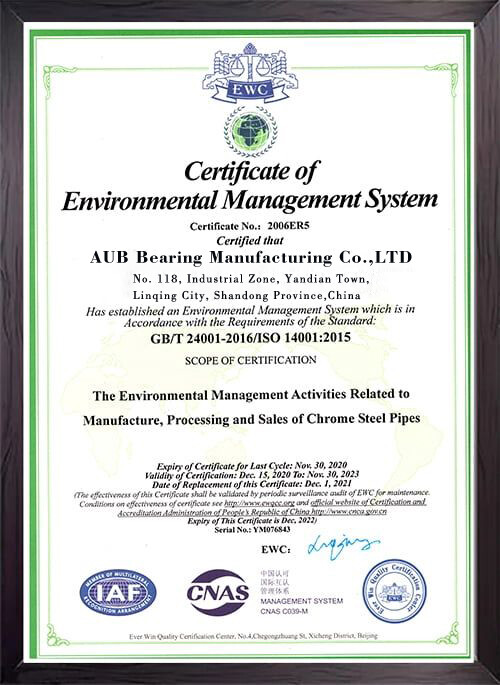
In addition, we strictly follow three quality principles throughout the manufacturing process:
Company-Wide Quality Control (CWQC): The sum of many small improvements can have a large impact on the outcome
Total Quality System (TQS): All key processes of the value chain require quality to guarantee valid results
Quick Response Manufacturing (QRM): Flexibility, Just-In-Time Service, and Short Time-to-Market
Appreciation from customers
The quality and service commitment that Aubearing guarantees in every bearing supplied is appreciated by all customers and is committed to continuing to improve the high quality standards that Aubearing has always distinguished. For all these reasons, Aubearing is one of the trusted bearing suppliers and manufacturers with a presence in various industry sectors in than 50 countries, witnessing success without geographical or industry boundaries.

High Quality Raw Materials
Raw material suppliers must provide a material declaration that re-delivered materials are RoHS compliant, the declaration must include at least the purchase order number, part identification, quantity, RoHs restricted materials, including lead, mercury, cadmium, hexavalent chromium, polybrominated biphenyls (PBB) or polybrominated diphenyl ethers (PBDE). Aubearing cooperates with large bearing steel mills to help us ensure the quality of raw materials.
Heat treatment determines reliability
Heat treatment is one of the most critical steps in the manufacturing process, proper hardening gives bearings excellent stability, hardness and durability. Aubearing has the most advanced heat treatment capability, realizes all-round quality control, and the quenching and tempering heat treatment process is completely controlled. Aubearing has the most advanced heat treatment equipment in the world, and the same equipment is installed in SKF factory. We are one of the few factories in China with such equipment. As we all know, the quality of heat treatment is directly related to the subsequent processing procedures. It is very important that bearing performance and life will ultimately be affected. Heat treatment process is the key process and basis of bearing production.
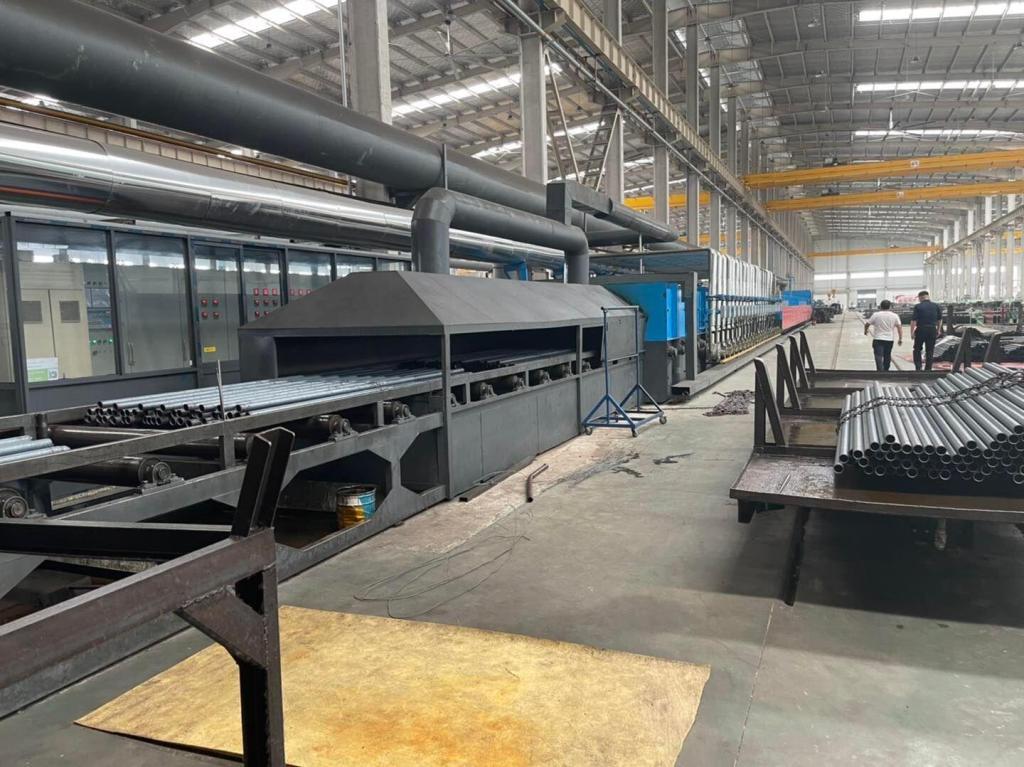
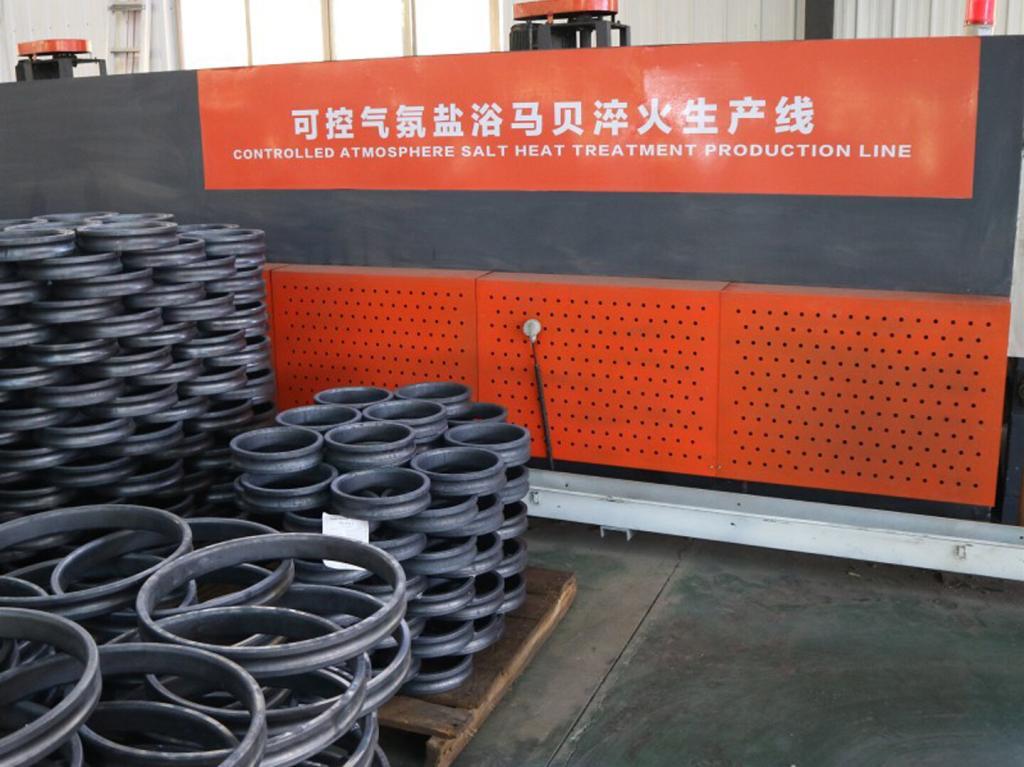
At Aubearing, all heat treatment, including raceways and gears, is done in-house using state-of-the-art hardening machines. Through induction hardening, the required hardness and sufficient hardness depth are achieved. Proper heat treatment imparts bearing load carrying capacity, durability and resistance to pitting or brinelling.
Bearing residual magnetometer and digital bearing residual magnetism instrument CJZ-3 is a special instrument for bearing residual magnetism inspection. It is a special instrument designated by the bearing institute for residual magnetism detection of finished bearings. It is mainly used for spot inspection of residual magnetism of finished bearings, also can be used for sampling parts of the production line.
Ultrasonic bearing flaw detector is a method that uses ultrasonic is able to penetrate into the depth of metal material, and when it cross a section enters another section, reflection occurs at the edge of the interface to check the defect of the part. When the ultrasonic beam passes through the probe from the surface of the part to the inside of the metal, a reflected wave occurs when the defect and the bottom of the part are encountered, a pulse waveform is formed on the fluorescent screen. The position and size of the defect can be judged according to these pulse waveforms.
Bearing special magnetic flaw detector is a special detector for rings like bearings, gear rings. This equipment adopts Markov’s mechanism for rotating flaw detection, which has the advantages of rapid flaw detection speed, comprehensive flaw detection, and large volume of flaw detection. It is suitable for large batches of flaw detection of rings and high detection accuracy.
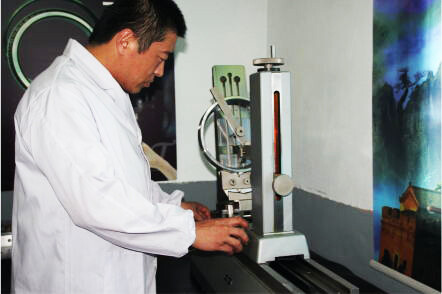
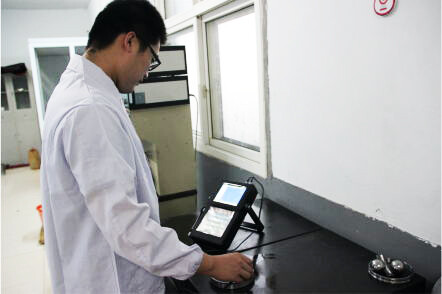
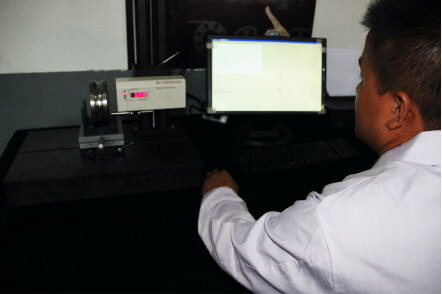
The bearing roughness detector is a high-precision stylus surface roughness measuring instrument. The instrument can be used for the surface of various parts such as plane, bevel, outer cylindrical surface, inner hole surface, deep groove surface, arc surface and spherical surface. And achieve a variety of parameters of surface roughness measurement. The instrument can be conveniently used to measure the roughness of bearing raceways.
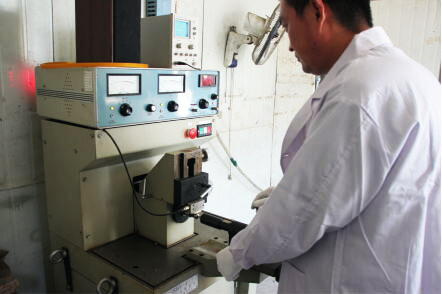
The steel ball vibration measuring instrument is a special instrument for measuring the vibration speed of the rolling bearing steel ball, which is composed of a speed sensor, a sensor position adjusting device, a hydrostatic pressure main shaft, a steel ball quick loading and unloading device, a measuring amplifier and an oscilloscope. The two dashboards display the RMS value of the low and high frequency steel balls vibration speed at the same time. The oscilloscope shows the steel ball vibration speed waveform. The low and high frequency vibration speeding values of the steel ball are closely related to the values of the middle and high frequency vibration speeds of the finished bearing.

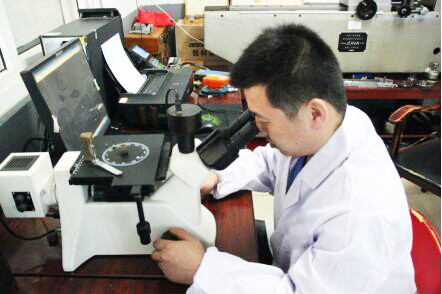
It is used to measure the diameter, roundness and angle of the bearing inner ring raceway.
The metallographic microscope of the bearing mainly analyzes the relationship between the microstructure of the steel and its chemical composition by examining the morphology of the bearing structure. It is possible to determine the microstructure of the various steels through different processing and heat treatment to judge the quality of the bearing steel.
The bearing profile measuring device is a precision device for measuring the shape of the plain wire and the cross-sectional profile of various bearing components. In the bearing industry, it can measure the shape of all kinds of rolling elements and raceways, such as the amount of protrusion, contact angle, radius of curvature of the surface, and angle of the reference part.
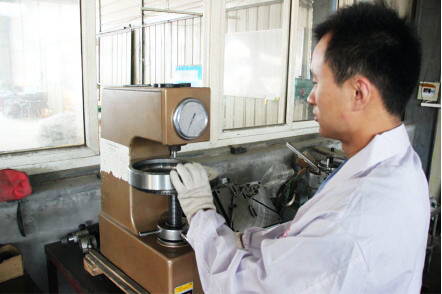
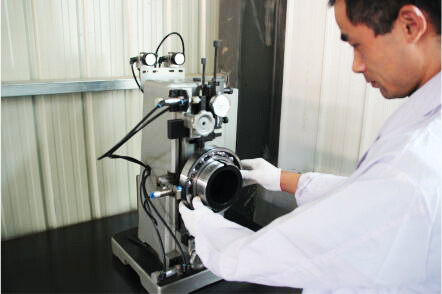
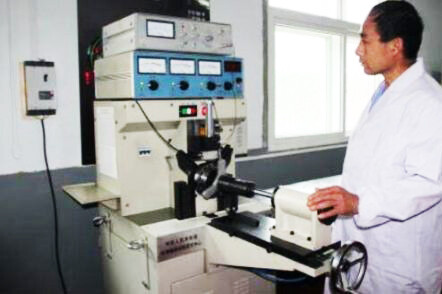
The hardness test is frequently used before and after the use of the bearing, its main purpose is to determine whether the material meets the hardness requirements or analysis the bearing specific reasons through measuring the hardness of the bearing.
The bearing clearance tester is one of the important quality indicators of the bearing and is an important factor affecting the vibration, noise and life of the bearing.
Three-coordinate measuring instrument for bearing quality inspection
The roundness test is mainly used to detect the roundness of the inner and outer ring of the bearing. The roundness of the bearing ring does not reach the standard, which directly affects the bearing rotation accuracy, vibration, and noise. It also affects the clearance, stiffness and friction torque of the bearing, as well as the bearing’s fatigue life and working reliability. So roundness control is very important for bearing rings, especially for high-tech bearings such as military, railway, precision, and automotive bearings, the measurement of roundness is even important.
The bearing vibration measuring instrument is a special instrument for measuring the vibration of deep groove ball bearings, angular contact ball bearings and tapered roller bearings.
Quality Inspection Control System
Using a complete quality control system, we have strict inspection procedures during the manufacturing process to ensure that each bearing meets technical specifications, including: precision measurement of width/outer diameter/inner diameter, hardness test, roundness measurement, low noise test, Grinding control, maximum speed, bearing life.
Raw materials: 100% inspection
Turning of inner and outer rings: 100% inspection
Heat treatment: spot check
Face grinding: 100% inspection
OD grinding: 100% inspection
Raceway grinding: 100% inspection
Raceway superfinishing: 100% inspection
Ball: 80% inspection
Shield: 100% inspection
Retainer: 100% inspection
Grease filling: 100% inspection
Bearing rotation: 100% inspection
Noise and vibration testing: 100% inspection
Packaging: 100% inspection before shipment
100% traceability guarantees quality
Our quality control begins at the beginning of the manufacturing process. When each forged ring is received and inspected for chemical composition and core hardness, it is stamped with a unique tracking number. This figure is referenced at all stages of production until the final delivery of the product. This tracking number enables our workers to trace material through every step of manufacturing, including where the forged part came from, when it was processed, who processed it, and the results of each inspection. This number will then be linked to the final inspection report for client review.
